Hi everyone
I wanted to make a plan to have better photos, and in time, videos for my tutorials, for my blog. There are many lower-cost options out there, and after a brief search on the interwebs, I found a great tutorial on how to make one using PVC pipe. My inspiration came from a blog called Kreative Kymona, and here is her original blog post https://kreativekymona.com/2015/08/18/my-overhead-table-top-tripod/. You will find the dimensions and instructions on how to make it over at her blog, but I changed the dimensions slightly both to match my work space, and also because I got the conversion of inches to centimetres wrong. HA HA HA!
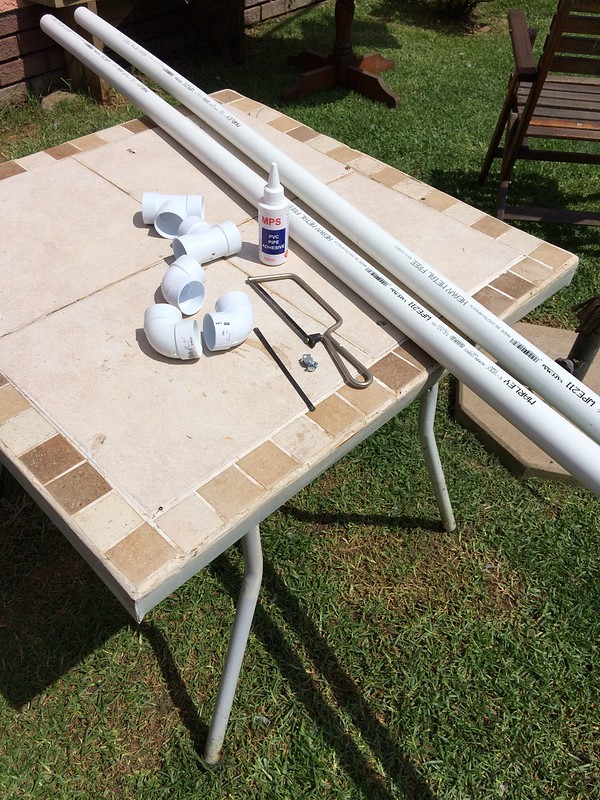
First, I gathered all my supplies. I bought 2 by 2 metre lengths of thin PVC pipe, 2 T-joints, 3 elbow-joints, a bottle of PVC glue, and a 6mm bolt with washers.
After measuring my workspace, and following the original post measurements more or less, I ended up with a good-looking frame which my bunny, Yuki, seemed to like. She is such a sweetie and races over to see whatever we are doing when we go outside. I suspect she thought it was food time again, but was happy to inspect the tripod while I pieced it together to make sure it fitted before I applied the glue.
I stood the tripod against the wall to make sure the joints were all square, and then added the glue to the pieces. Here it is drying.
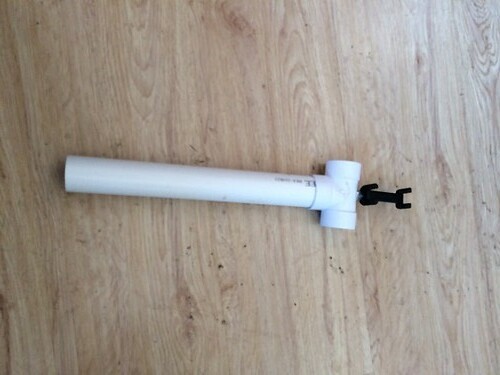
The final piece will go at the top and hold the camera clamp. I use my iPhone for photos, and I so will use a small phone mount (pictured below) to hold the phone onto the t-piece, but will only glue it on when the other pieces are completely dry.
Check in again tomorrow to see the finished tripod, as well as one or two test photos taken from my new toy. 🙂
Thanks for popping in.
XxX


A good job, simple and effective.